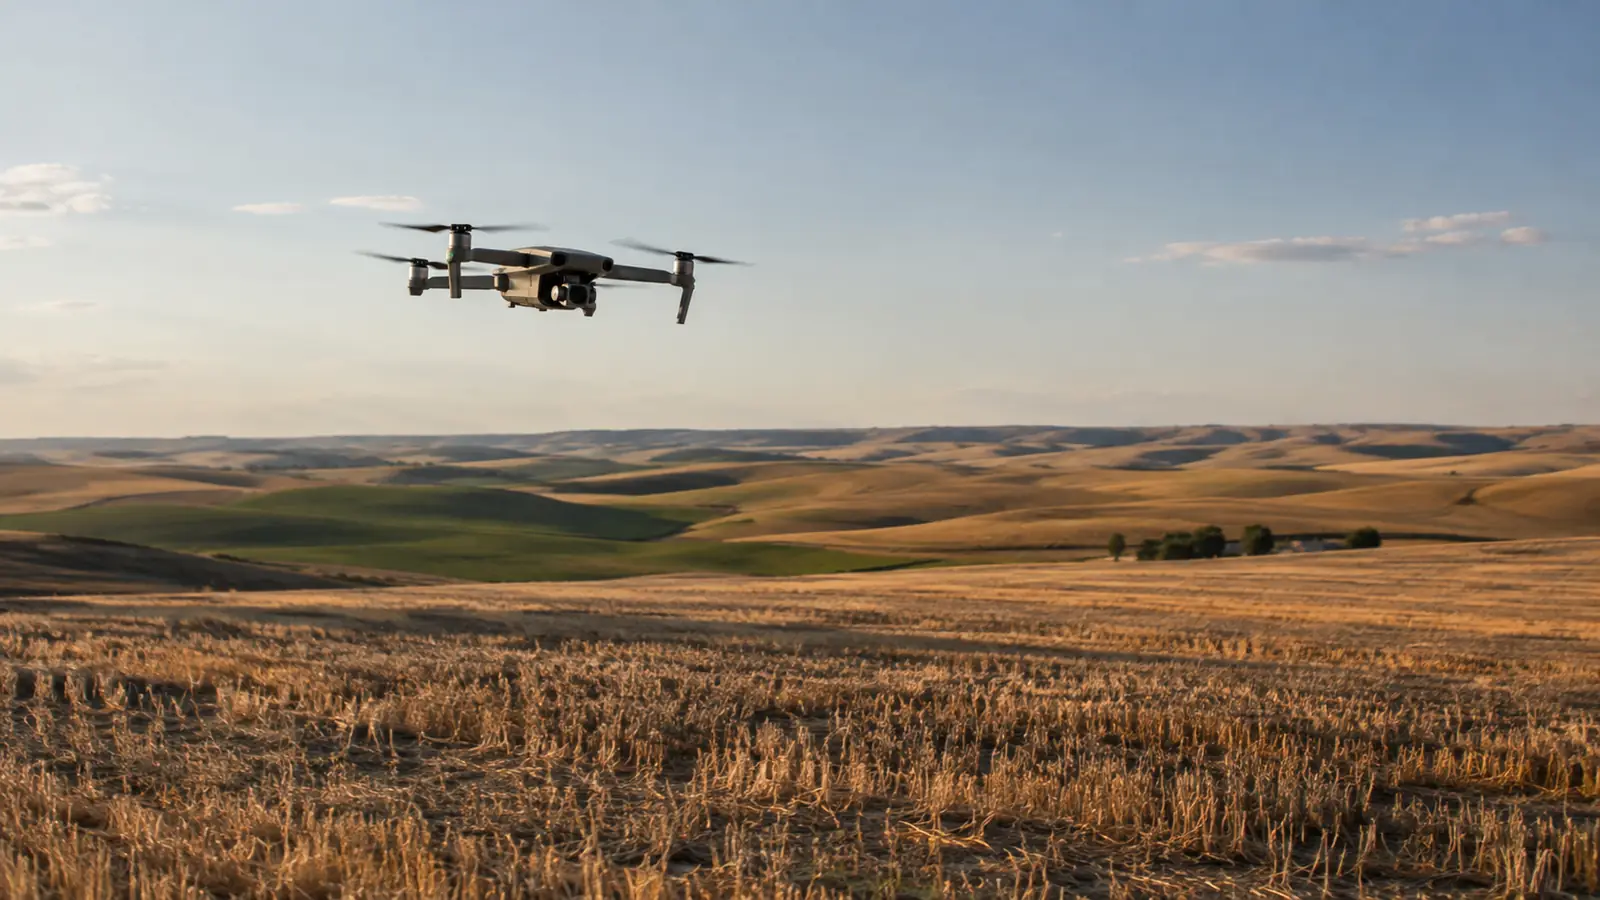
I spent my first year flying drones with the lens wide open and the shutter speed cranked way up. The footage looked sharp on the phone screen. Then I pulled it up on the TV and every pan had that stutter, that little choppy jump that makes motion look like a slideshow. The fix is boring and mechanical. You cut the light coming into the lens so the camera is forced to use a slower shutter speed, and suddenly the motion looks like film instead of security footage. That is what ND filters do, and the NEEWER ND & CPL Filter Set for the DJI Mini 4 Pro is the set I have used for about a year.
I fly a DJI Mini 4 Pro with the standard RC-N2 controller, mostly over farm fields and a public park east of Spokane. I am not a cinematographer. I am an HVAC service tech who wanted video that does not make people motion sick. This guide walks through the 180 degree shutter rule, which filter to pick for the light you are in, and how to fit and set up the NEEWER filters so you get smooth footage without fiddling at the field.
Start With the Filter Set That Covers Every Condition
The NEEWER ND & CPL Filter Set gives you ND8, ND16, ND32 and ND64, plus a CPL, in one case. That covers bright sun, overcast days and everything between.
Amazon Check Today's Price on Amazon →Step 1: Learn the 180 Degree Shutter Rule
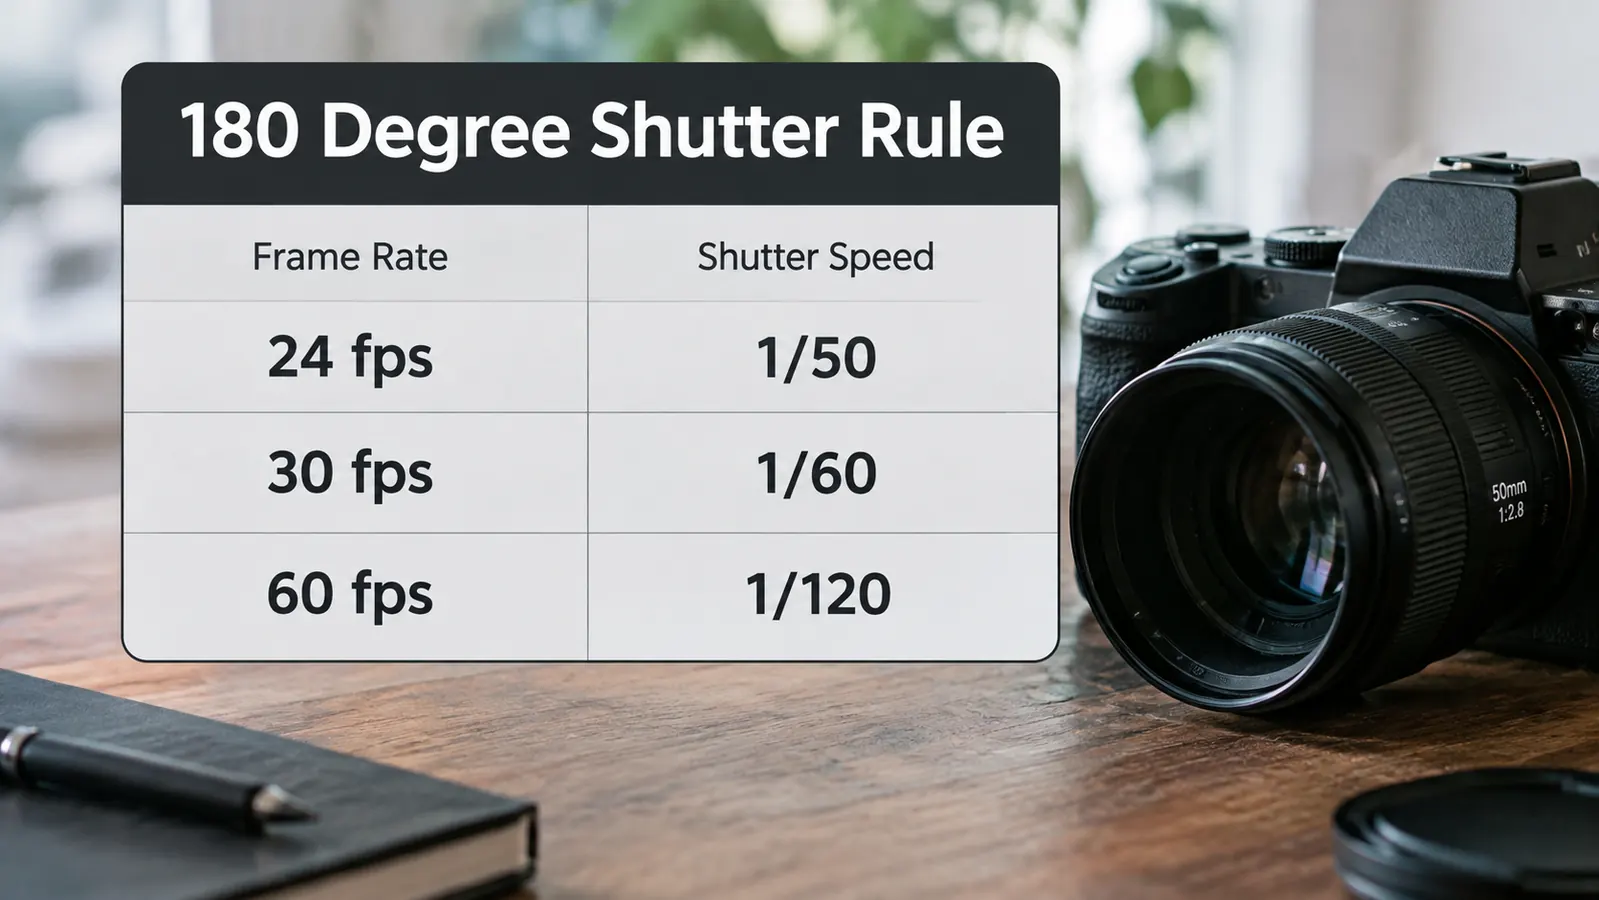
The rule is simple: set your shutter speed to double your frame rate. If you shoot 24 frames per second, your shutter should be around 1/50 of a second. At 30 fps, use 1/60. At 60 fps, use 1/120. That keeps the amount of motion blur between frames consistent, which is what makes motion look natural to the eye.
The problem is that in daylight, a camera does not want to use a slow shutter. It wants to stop the lens down and freeze everything sharp. On the Mini 4 Pro I could not get the shutter below about 1/800 on a sunny afternoon without an ND filter. The result was crisp frames with no motion blur, and the brain reads that as stutter. I remember the first time I noticed it clearly. It was a Saturday in late March, over a wheat field east of town, and I had flown a long slow reveal that looked great on the phone. On the computer that night, the same clip jumped every time the camera moved. When I checked the settings, the clip had been recorded at 4K 30 fps with a shutter speed around 1/2000. The frames were tack sharp, but the motion was a mess.
An ND filter is basically sunglasses for the lens. It blocks light without changing color much, which forces the camera to use a slower shutter speed to get the same exposure. That is the entire trick. You are not adding blur in post. You are letting the camera capture the blur that was already there. That was the day I stopped blaming the drone and started learning about shutter speed. The lesson stuck because it cost me an afternoon of flying and a full battery.
Step 2: Pick the Right ND Strength for the Light
ND filters are numbered by how much light they block. ND8 blocks three stops, ND16 blocks four, ND32 blocks five, and ND64 blocks six. In simple terms, the higher the number, the darker the filter and the slower your shutter can go in bright light.
Here is the rough rule I use. Bright sunny day: ND32 or ND64. Partly cloudy: ND16. Overcast: ND8. Golden hour: take the filter off entirely or use ND8 if the sun is still strong. The NEEWER set includes all four, so you can match the filter to the sky instead of hoping one filter works for everything. A concrete example helps. On a cloudless July afternoon over the Palouse, with the sun high and no haze, I put on ND64 and set the Mini 4 Pro to 4K at 30 fps, ISO 100, shutter 1/60. The exposure was spot on. On an overcast morning in north Idaho, ND64 made the image too dark, so I dropped to ND8 and the shutter sat right at 1/60 again. The same shutter speed in two completely different skies, because the filter matched the light. I wrote the numbers on a piece of tape and stuck it to the inside of the filter case, so I do not have to remember which filter matches which sky.
Do not overthink it. Start with ND32 on a sunny day, check the shutter speed, and adjust from there. If the shutter is still too fast, step up to ND64. If the image is getting dark, step down. After a few flights you will grab the right one without thinking. That is the whole point of having four strengths in the case.
Step 3: Fit the NEEWER Filter Without Fumbling
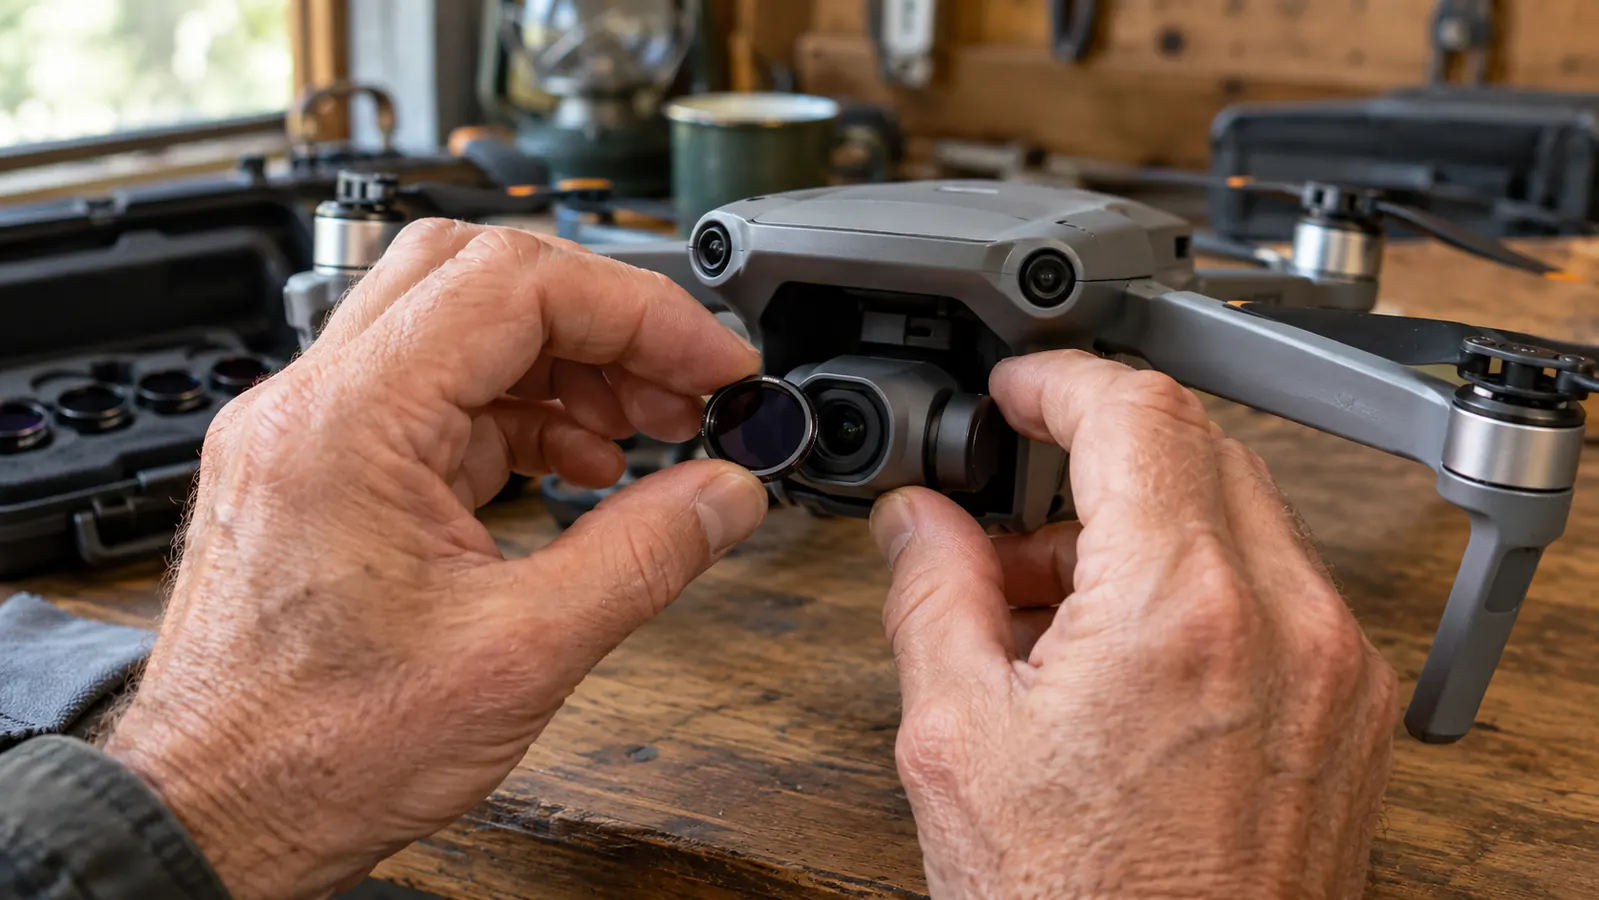
The NEEWER filters snap over the Mini 4 Pro lens with a twist-lock. Line up the small tabs on the filter with the slots on the lens, press gently, and rotate until it clicks. To remove it, pinch the filter and twist the opposite way. It takes about ten seconds once you have done it a few times.
I put the filters on before I power up the drone, never after. That way the gimbal is not trying to hold position while I am pushing on the lens. I also check that the filter is seated all the way around. A filter that is half on can show up as a dark corner in the footage. The set also includes a CPL filter, which cuts glare from water and wet pavement. I use it when I am flying over the lakes in north Idaho, where the sun bounces off the surface and washes out the color. The CPL twists to adjust, and like the ND filters it snaps on the same way.
The set comes with a small case that holds all four ND filters plus the CPL. I keep it in the front pocket of my JSVER hard case so I am not digging through the main compartment at the field. When you are swapping filters between flights, put the one you just took off back in its slot before you put the new one on. That habit has saved me from losing a filter in the grass more than once. It is not something I use every flight, but it is nice to have in the case when the light gets tricky.
Step 4: Set the Camera Settings on the Mini 4 Pro
Put the drone in manual mode for video. On the Mini 4 Pro, that means switching the camera mode to Pro and setting ISO, shutter speed and white balance yourself. Set ISO to 100, which is the native ISO and gives you the cleanest image. Set the shutter speed according to the 180 degree rule for your frame rate. One setting people skip is the histogram. On the Mini 4 Pro you can turn it on in the camera settings, and it shows a small graph across the top of the screen. I use it to check that the exposure is not clipped on the bright side. If you are new to histograms, just remember: the graph should not touch either edge.
I shoot in 4K at 30 fps most of the time, so my shutter speed is 1/60. When I want a more cinematic look I drop to 24 fps and use 1/50. The RC-N2 controller does not have a built-in screen, so I use an iPad mini on a Hanatora tablet holder to check the settings before I take off. The bigger screen makes it easier to see the histogram and the shutter speed readout. With an ND filter on, the histogram should sit roughly in the middle, not slammed to the right. If it is slammed, the filter is too weak for the light. If it is far left, the filter is too strong. That check takes five seconds and has saved me from bringing home footage that was blown out or too dark.
Use auto white balance only if you are shooting a short clip and do not care about matching color between shots. For anything longer, set white balance manually to the same value for every shot. That makes the footage cut together without the color shifting from clip to clip.
Step 5: Test With a Slow Pan and Adjust
Before you fly your real shot, do a test. Take off, climb to about 30 feet, and do a slow pan. Keep the stick input gentle. The goal is a pan that takes about ten seconds to turn 90 degrees. Land, pull the footage up, and look at the motion. If it stutters, your shutter speed is still too fast. If it looks smooth but dark, you have too much filter on. The drone has to be moving for the 180 degree rule to matter. A static hover looks fine at any shutter speed. So when you are testing, make sure you are actually panning or flying forward, not just hovering.
I made the mistake of skipping this step for months. I would set the filter, fly the shot, and only notice the stutter when I got home. Now I do a thirty second test on every new location. It costs one battery and saves an entire afternoon of unusable footage. I also started logging the filter and shutter speed in a note on my phone, so I can look back and see what worked.
Last fall I learned this the hard way over a lake in north Idaho. The water was glassy, the light was perfect, and I spent a full battery doing a slow orbit of a dock. I had ND16 on because the sky was hazy, but the sun kept breaking through, and the shutter was bouncing between 1/120 and 1/400. The footage looked fine in the air and stuttered badly on the computer. The fix was simple: switch to ND32, set the shutter to a fixed 1/60, and fly the orbit again. That second clip is still one of the smoothest I have shot.
What Else Helps
An ND filter fixes the shutter speed problem, but it does not fix every smoothness problem. The biggest one is your stick input. I flew with the sticks on the default settings for two years and wondered why my pans had a jerky start and stop. Then I lowered the gimbal and yaw expo settings in the DJI Fly app so the stick response is gentler near center. That alone made more difference to smooth footage than any filter.
The other thing that helps is not flying in wind you cannot handle. The Mini 4 Pro handles a breeze, but a gusty afternoon will show up as wobble in the footage no matter what filter you use. I fly most of my smooth footage in the morning before the wind picks up. The Palouse hills are calm at 7 AM and windy by 11.
I also started planning my shots before I take off. Instead of climbing out and figuring out the move in the air, I pick a start point and an end point, and I fly the same line twice. The first pass is for the filter and exposure, the second is the real shot. It sounds like extra work, but it means I land with footage I can actually use instead of a card full of test clips. That habit came from a missed shot over a field of canola, where I spent the whole battery trying to find the right angle.
An ND filter does not add smoothness. It removes the thing that was making your footage choppy in the first place.
The NEEWER Set Is the Easiest Way to Start
Four ND strengths plus a CPL in one case, built for the Mini 4 Pro. If you want smooth video this weekend, this is the set to grab.
Amazon Check Today's Price on Amazon →