
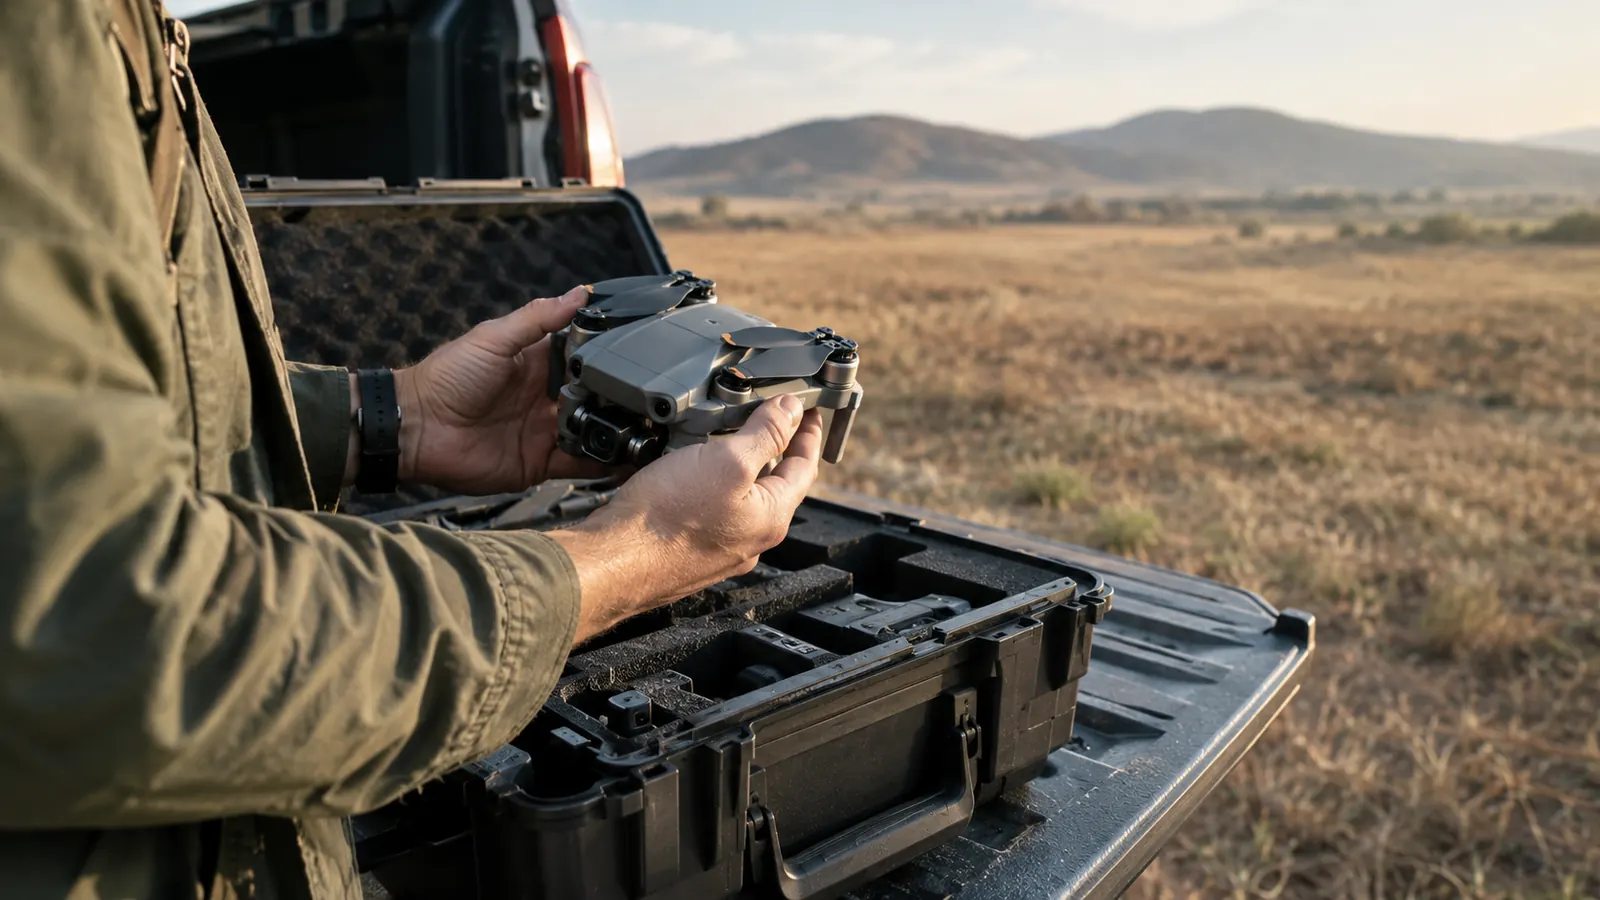
I will start with the part the product photos skip. The first time I tried to swap filters on the Mini 4 Pro, I dropped one into a patch of dry grass east of Spokane and spent a full ten minutes on my hands and knees. The filter survived. My dignity took the hit. That is the honest review of the NEEWER filter set in one scene: the glass is good, the case is fine, and the swapping is where this kit will test you.
Nobody tells you that part because it is not on the spec sheet. The listing tells you four filters, ND and CPL, made for the Mini 4 Pro. A year of weekend flying tells you different things: that the swap is fiddly in wind, that the darkest filter adds a color cast, that the CPL only works when the angle cooperates, and that none of that stops me from packing the set on every video flight. That is what I am going to walk through here, in the order I learned it.
The Quick Verdict
Good glass for the money, a real color cast at the darkest density, and a swap that will frustrate you in wind or cold. Buy it for video in bright sun, skip it if you only shoot stills.
Amazon Check Today's Price →Three ND densities and a CPL, for less than one branded filter
If you shoot video with the Mini 4 Pro in daylight, this set fixes the one thing the drone cannot fix itself: shutter speed in full sun. It has been the cheapest upgrade in my gear bag for a year.
Amazon Check Today's Price on Amazon →How I've Used It
I bought this set about a year ago, a few months after I started flying the Mini 4 Pro. Before that I flew a Mavic Air 2 for four years and never touched a filter, because I mostly shot stills. The Mini 4 Pro changed my habits. The camera is good enough that I started shooting video, and video in bright sun has a problem the drone will not solve for you.
The old film rule is shutter speed at roughly double the frame rate. At 30 frames per second, that means 1/60. In full sun at the Mini's base ISO, the camera wants to run at something like 1/1000 or faster to keep the exposure right. Every frame is tack sharp, and motion looks stuttery, like a slideshow. The NEEWER ND filters let me hold 1/60 and let motion blur look like motion blur.
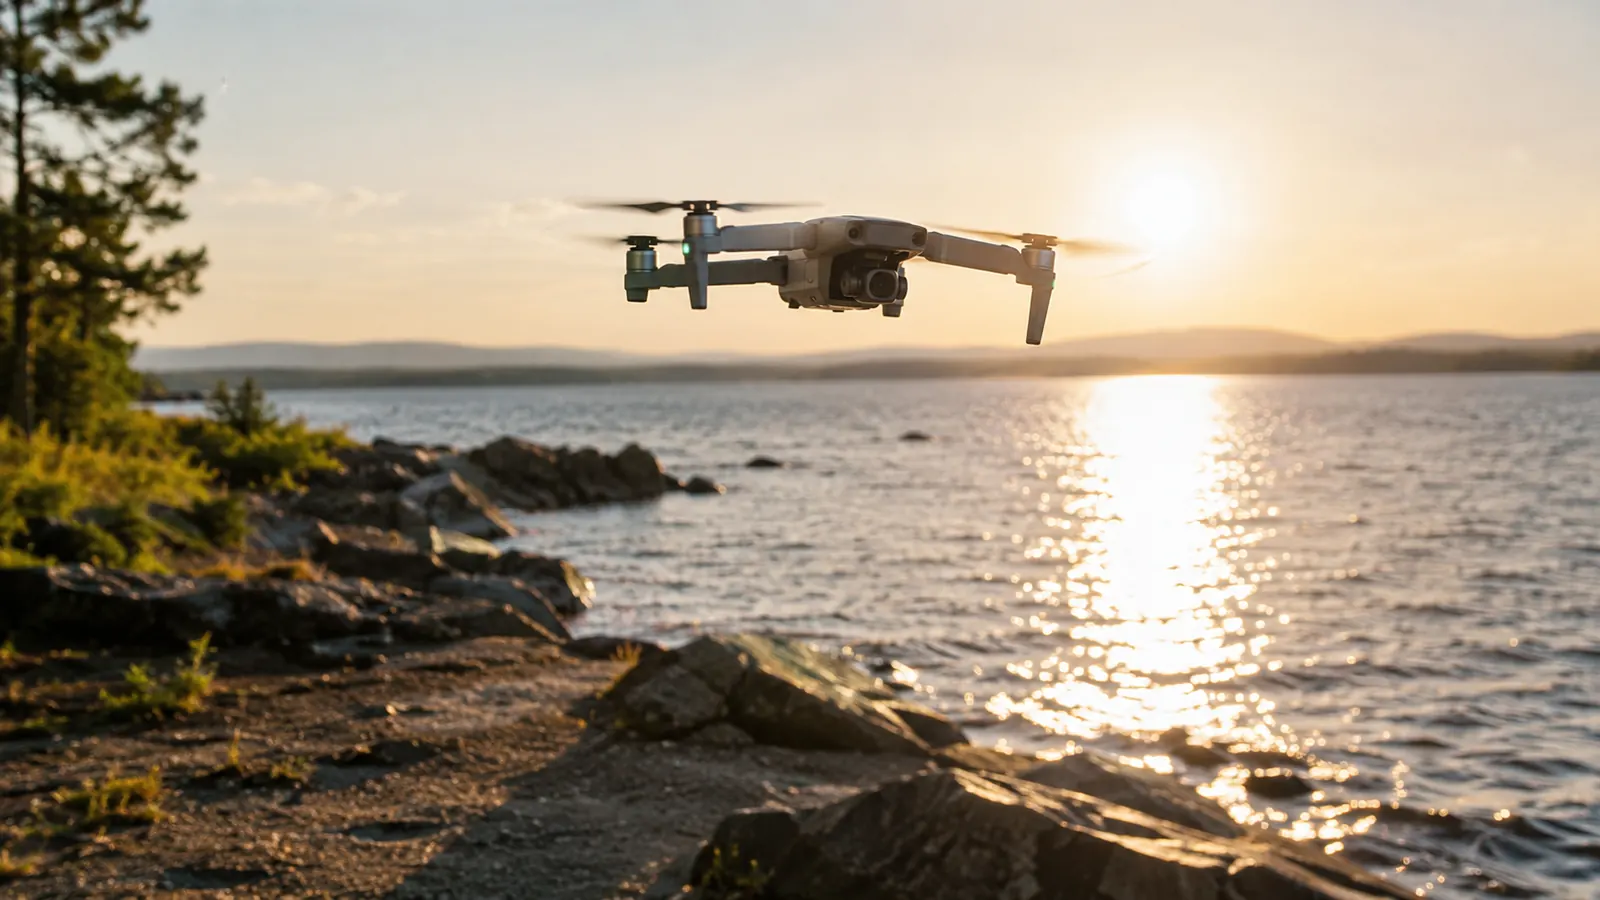
I have flown this set over the Palouse hills in July, over a lake in north Idaho on a windy afternoon, and in the kind of dry August heat that makes the air shimmer. The ND filters did their job every time. The CPL cut the glare on the lake enough that the surface went from white to deep blue. That is the part of this review that is easy to write. The rest took a year to learn. How I decide which filter goes on is not scientific: clear sky and high sun means the darkest ND, bright but hazy means the middle one, and water means the CPL, even though I know it will only be perfect for part of the flight.
What the Four Filters Actually Cover
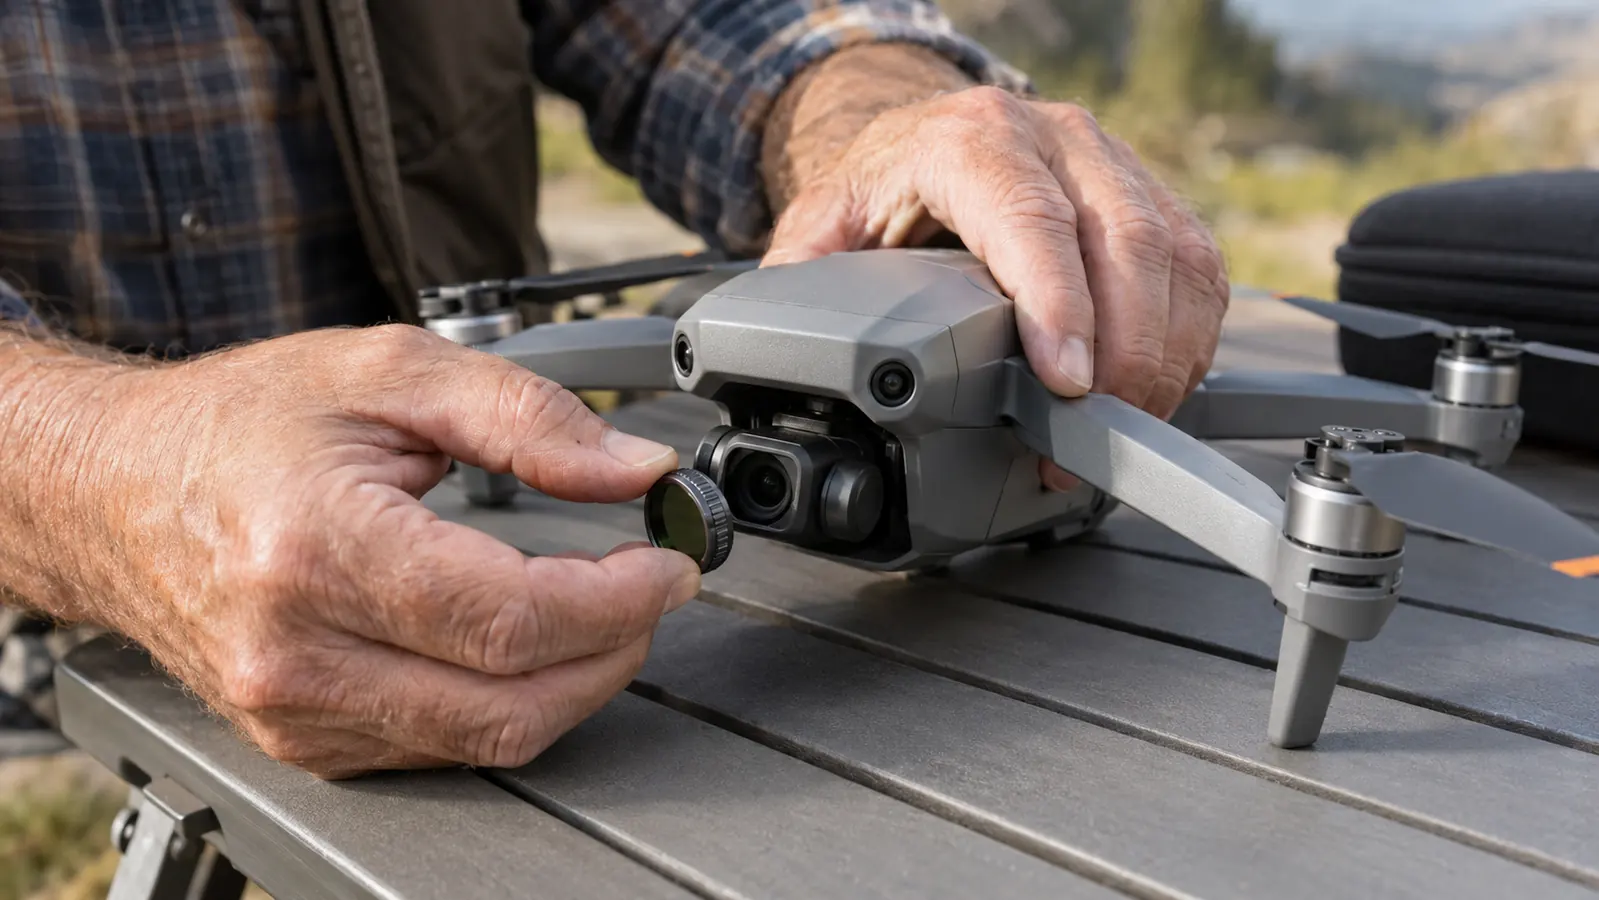
The pack is four filters: three ND densities and one CPL. The way I use them, the lightest ND is for overcast days when I still want a slower shutter, the middle one is my default for most sunny afternoons, and the darkest is for harsh noon light when the sun is high and the shadows are short. The CPL comes out when there is water or wet pavement in the frame. I have also used the middle ND on an overcast day when I wanted a long shutter for a slow, dreamy look over the lake, and it worked for that too.
What the listing does not tell you is how much time you will spend deciding which one is on the drone. The filters are small and the density markings are printed on the rings, but at arm's length, with the case open on a tailgate, you will still squint. I have learned to sort them by position in the case and to put each one back in the same slot every time.
The case helps. It is small enough to live in the drone case, each filter has its own slot, and the lid labels which is which. That sounds like a small thing. It is the reason I have not dropped a filter since the first week, and the reason I know I am grabbing the middle ND instead of the darkest one.
What Nobody Tells You About the Swap
Here is the part I had to learn the hard way. The filters thread onto a tiny ring around the Mini 4 Pro's lens. That sounds simple. It is not, mostly because the camera sits on a gimbal that wants to move. You are holding a drone in one hand, steadying the gimbal with the other, and twisting a piece of glass smaller than a quarter. The first time I did it, I dropped one. The second time, I did it in a gust of wind and nearly lost it over a fence.
The fit itself is fine. The filters seat cleanly, they do not wobble in flight, and I have never had one come loose in the air. But the swap is a two-hand job, and in the cold winters we get east of the mountains, or in any wind at all, it is fiddly in a way the listing does not mention. My hands are not small. I have learned to do the swap over the landing pad or the open case, so a drop lands on fabric or foam instead of dirt and dry grass.
There is also the gimbal weight. A filter adds mass to a small gimbal that is doing a lot of work already. On a calm day I do not notice it. On a windy day, the kind we get all summer in the Palouse, I have seen a little more jitter in the footage than I get with the bare camera. It is not bad, it is not a defect in the filters, it is just physics, and nobody tells you to expect it.
The other swap lesson is timing. I do it before the props go on, with the drone on the landing pad, not in my hand over a fence line. It takes twenty seconds when I do it right and two minutes when I do it wrong. The two-minute version is usually because I tried to rush the twenty-second version.
The Color Cast and the CPL Quirk
The honest part. At the darkest ND density in this set, I get a color cast. It is subtle: a little extra warmth, a touch of green in the shadows if I push the grade. On the brightest days, when I need that darkest filter the most, the footage comes out slightly off from what the bare camera gives me.
It is fixable. A custom white balance before takeoff handles most of it, and a small correction in editing handles the rest. But if you want files straight out of the drone, this is the thing nobody tells you. Budget filters have casts. The NEEWER set has less of one than I expected for the money, but it is there, and pretending otherwise would be the dishonest review.
The CPL has its own quirk. A polarizer only works at the right angle to the sun, and you set it before takeoff. Once the drone is in the air and turning, the angle changes, and the effect comes and goes. Over water it is still worth it, because when it is right, the glare just disappears and the surface turns deep and clear. But it is not set-and-forget, and the listing does not tell you that either.
I have also learned to shoot a little flat with the darkest filter on, because the cast is easier to correct when the footage is not already baked. That is a workflow change, not a complaint. Once you know the cast is there, it stops being a surprise and becomes a known quantity.
Where the Set Earns Its Place
With all that said, I keep the set in the case and it goes on every flight where I plan to shoot video. The math is simple. One filter from a premium brand costs about what this whole four-pack costs. I would rather carry the NEEWER set, accept the small cast, and fix it in two minutes of editing than spend four times as much for glass that is marginally cleaner.
The other thing that earns its place is the consistency. I have flown this set in heat, cold, and wind for a year, and the threads still seat the same way they did on day one. No cross-threading, no filters stuck on the lens, no glass that has scratched despite being handled with the grace of a guy who drops things. That matters more to me than the brand name on the ring.
And for stills? Here is the honest answer. You mostly do not need these for stills. The Mini 4 Pro's auto exposure handles a bright scene fine, and a still frame does not care about shutter speed the way video does. I shoot stills bare and only put the filters on when the video is the point. If you never shoot video, this set is a solution to a problem you do not have.
One more thing in its favor: the filters are light. The whole set adds almost nothing to the bag, and the case is small enough that I forget it is there until I need it. For a guy who carries gear in a work truck, that counts.
What I'd Change After a Year
The durability question is the one nobody can answer from the listing, so here is the year-long version. The filters have been in and out of the case more times than I can count, in temperatures from the teens to the high nineties. The glass is clean, the threads are straight, and nothing has separated or fogged. I have not been gentle with them, and they have not complained.
The one thing I watch is the case. It is a hard little shell, and it has held up fine, but the foam is soft and the filters sit deep, so I do not toss it loose in the truck. It rides in the drone case, where it cannot get crushed. That is the same lesson I learned with my old soft bag, which died under a sliding toolbox. Protect the case and the filters will outlast your interest in swapping them.
Two small gripes. I would put the density marking on the outside of the ring, facing out, so I can read it without pulling the filter off the lens. Right now the marking is on the edge, and with the filter mounted, I have to take it off to be sure which one is on. I would also make the case slots a little deeper. Getting a thumbnail under a filter that sits flush in foam is harder than it should be. Neither is a reason to skip the set. They are the kind of details you only notice after a year.
What I Liked
- Fixes the stuttery video look in full sun for a fraction of what one branded filter costs
- Case keeps all four filters organized, labeled, and protected
- CPL cuts water glare noticeably when the angle is right
- Threads have held up through a year of heat, cold, and wind
Where It Falls Short
- Swap is fiddly in wind or cold, and dropping one is easy
- Subtle color cast at the darkest density needs a white balance or edit fix
- CPL effect changes in flight and only works at the right angle
- Adds weight to the gimbal, a touch more jitter in wind
The filters do their job in full sun. The swap is where this set will test your patience, and the cast is what you fix in editing.
Who This Is For
This set is for the weekend pilot who shoots video in daylight and wants footage that looks like it was shot on purpose. If you have noticed your clips look stuttery in bright sun, this is the fix, and it is the cheapest fix I have found. It is also for people who fly near water and want the glare gone. The CPL does that, when the angle cooperates.
It is for someone like me: a hobbyist who wants better footage without a second mortgage on the gear bag. You do not need to be a professional to see the difference. You need to be willing to spend ten minutes learning the swap and two minutes fixing the color in editing. That is the whole price of admission, and it is a trade I will make every time.
Who Should Skip It
If you only shoot still photos, skip it. The drone's auto exposure does the job, and you will be carrying glass you never use. If you fly mostly in overcast or golden-hour light, skip it. The whole point is bright sun, and if you do not fly in bright sun, the filters are answering a question nobody asked.
And if you hate fiddly things, honestly, think about it. The swap is the whole experience of this set. It is not hard once you learn it, but it is never as easy as the listing makes it look. If that will spoil your flying, leave the filters at home and shoot within the drone's limits. The Mini 4 Pro is good enough that you will still like the footage.
If you shoot video in daylight, this is the cheapest fix I have found
A year in, I still pack the NEEWER set for every video flight. The cast is fixable, the swap is learnable, and the footage finally looks like I meant it.
Amazon Check Today's Price on Amazon →