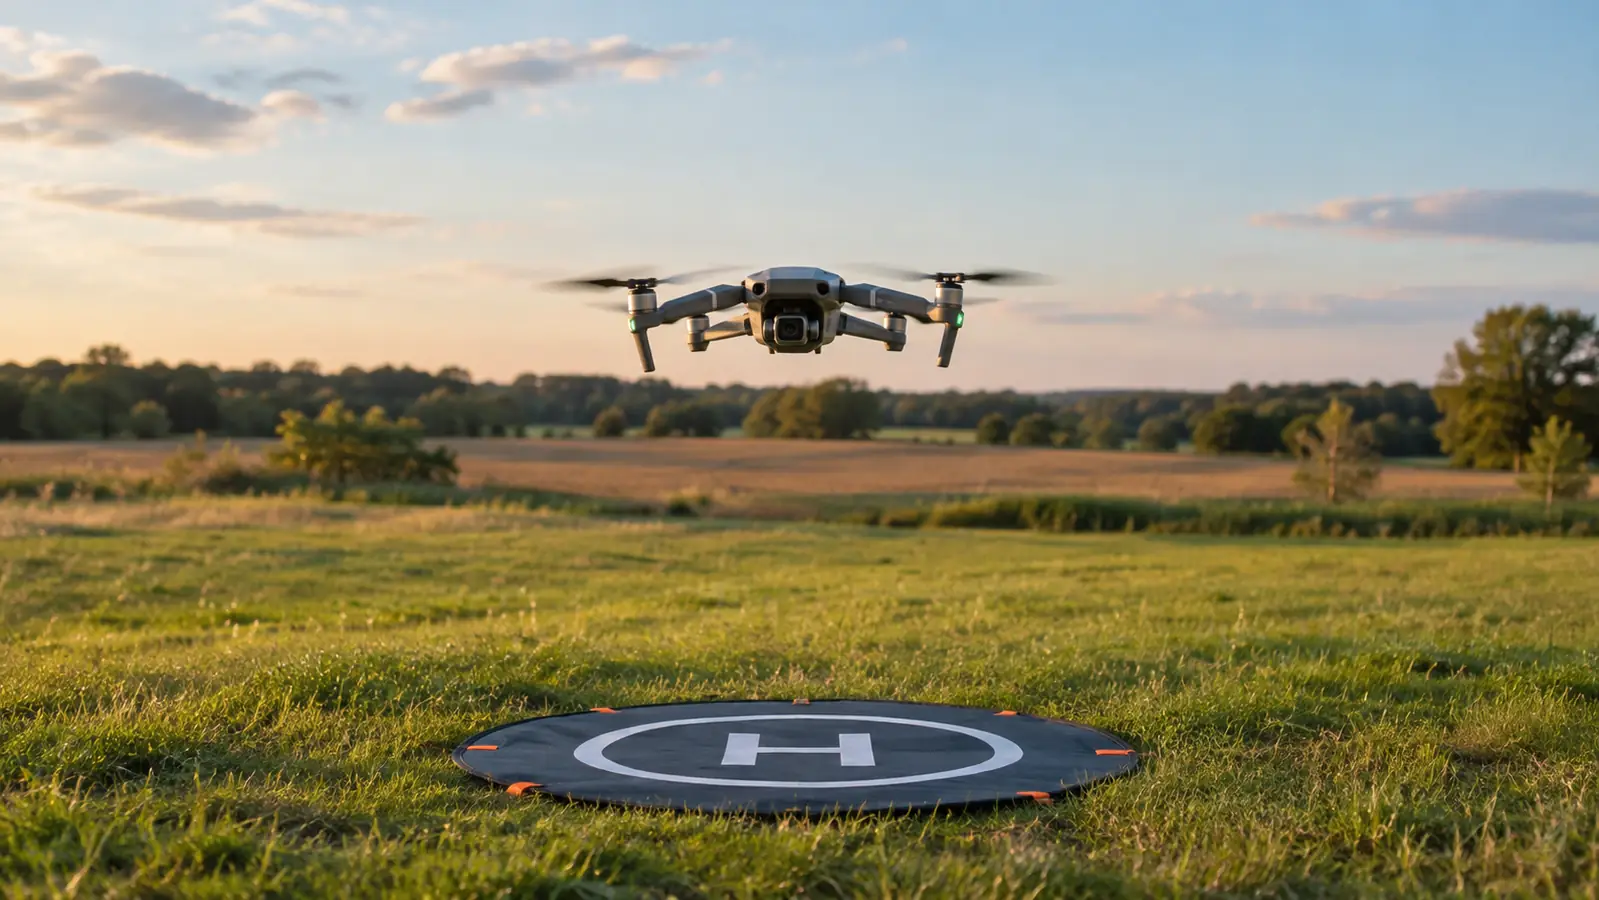
Grass looks like the easiest place in the world to launch a drone, right up until you do it. I learned that in a hay field east of Spokane a couple of years ago. My Mini 4 Pro went straight up through a puff of dust and dry clippings, and for the rest of that flight the gimbal carried a fine grit that showed up in the footage. The props were fine. The camera was not. That was the day I ordered a YINGJEE 22 inch landing pad, and it has been in my bag on every flight since. I fly most weekends, and I have not had a single grass-related camera issue since I started using it.
A landing pad does two jobs. It gives the props a clean surface to push against instead of grass and dirt, and it gives you a fixed target to land on, which matters more than you expect when you are coming down in wind. But the pad only helps if you set it up right. A pad that flaps in a gust or sits on a slope is just a piece of fabric with a target painted on it. Here is the routine I have settled into over two seasons of flying from farm fields and park grass, and it has kept my props and my camera out of trouble.
Give the props a clean surface to push against
The YINGJEE 22 inch landing pad folds small enough to live in a drone case, lays flat on grass, and gives the downward sensors a steady surface to read. It is the piece of gear I recommend first to anyone who flies from fields.
Amazon Check Today's Price on Amazon →Step 1: Pick a spot that gives the drone room to work
The pad matters, but the spot matters more. I look for level ground first. A slope of even a few degrees makes the drone drift on takeoff as it tries to hold position, and it makes landings skid sideways. Short grass is better than long grass, because long grass hides sticks and rocks that can get thrown into the props on launch. I have learned to walk the area once before I set anything down.
I also give myself room. The Mini 4 Pro does not need much, but I want a clear circle of about fifteen feet around the pad, with nothing overhead. Trees and power lines look farther away than they are, especially when the drone is coming down in a breeze and you are watching the screen instead of the sky. When I fly at the park east of town, I pick the open corner of the field, not the middle, so the trees stay behind me. I have made the mistake of setting up under a branch that looked high, and the drone found it anyway.
Wind direction is the thing I check last. I stand with the wind at my back and put the pad downwind of me, so the drone takes off into the wind. That keeps the prop wash from blowing grass and dust back into the camera, and it makes the landing approach steadier. On a gusty day I would rather wait twenty minutes than fight the wind with a load of grass clippings in the air.
Step 2: Stake the pad down before the wind does
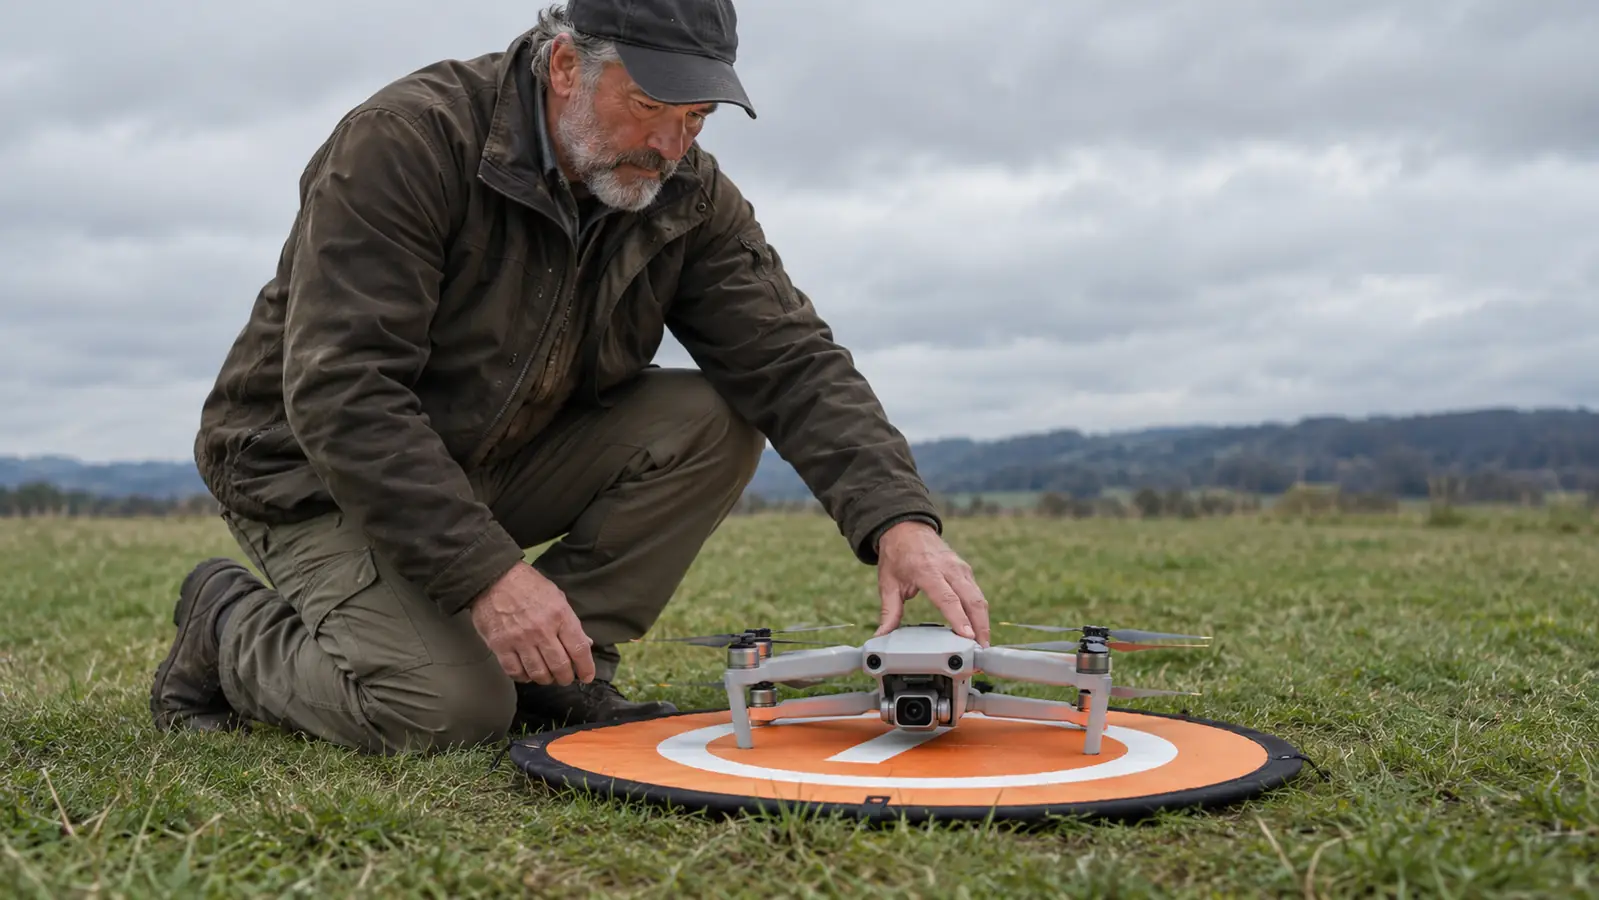
The YINGJEE pad is light, and that is the point of it. It folds up small and goes anywhere. But light means the wind will move it. The first time I used it, I laid it on grass without staking it, and a gust flipped one edge up while the drone was on its way down. I caught the pad before the props did, barely. That was a lesson I only needed once.
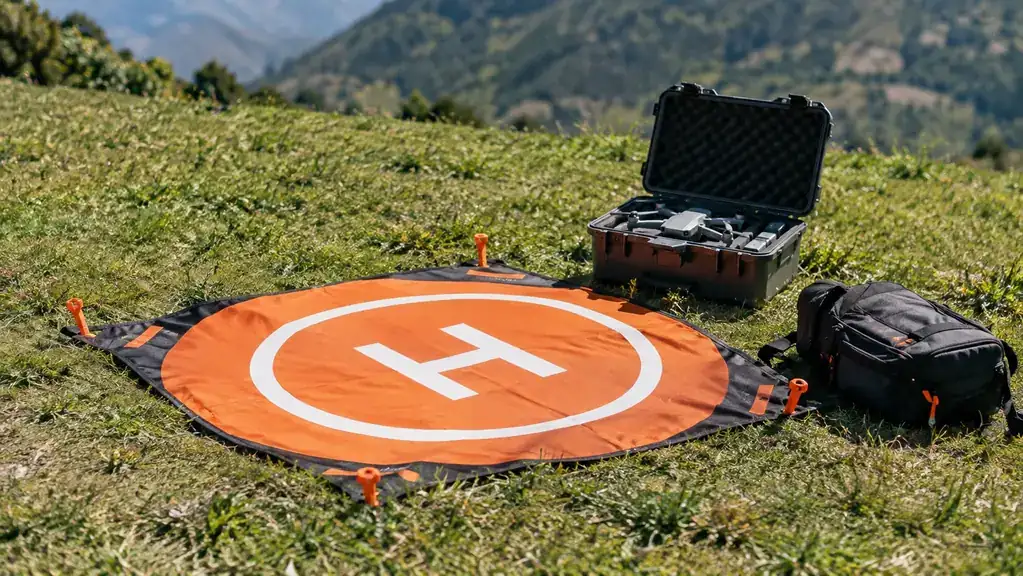
The pad has grommets at the corners, and I carry four tent stakes in my drone case now. Two minutes to set them, and the pad stays flat even in the kind of wind that makes the drone warn me about gusts. If I am on a surface I cannot stake, like a gravel lot, I put my gear bag on one corner and my water bottle on the opposite one. It is not as tidy as stakes, but it does the job.
Flat matters as much as secure. A folded or wrinkled edge can confuse the downward sensors on landing, because they read the surface to judge height. I smooth the pad out with my foot after staking, and I check it again right before takeoff. Grass grows fast, and a leaf or a tuft can sneak under an edge in the ten minutes between setup and launch. One quick look before the props spin up saves a lot of trouble.
Step 3: Run the preflight checks in the same order every time
I do the same checks in the same order every flight, because the day I skip one is the day it will matter. Battery level and cell voltage first. Then the props, checking for nicks and making sure they are seated. Then the gimbal cover off and the lens clean. Then I power up the controller and the drone and let the sensors do their startup check. It takes about three minutes, and I do it the same way in July and in January.
The pad is part of my preflight now. I walk the surface once, looking for anything the prop wash will throw into the air, and I check the area around it for loose grass clippings, small stones, and other debris. On a dry day in August, that matters. The Palouse gets dusty by midsummer, and dust is harder on a gimbal than a hard landing. A dry field can throw up a surprising amount of grit in the first second of a launch.
I also check the downward sensors on the bottom of the drone before I launch from grass. A dusty lens down there can make the aircraft drift on takeoff, because it is not reading the surface the way it should. A quick wipe with a lens cloth is cheap insurance, and it is the kind of check that is easy to skip when the light is good and you want to fly. I keep a cloth in the JSVER case, right on top, so it is the first thing I see when I open the lid.
Step 4: Take off and land with the pad in mind
Takeoff is simple: straight up, no sliding. The whole reason for the pad is that the props get clean air and a clean surface to push against, so I do not give them a running start. I push the left stick up smoothly, let the drone climb about ten feet, and then it is just flying. I keep the throttle steady and let the drone do the work. The pad is there to make the start predictable, and a predictable start makes the whole flight easier. No drama, no dust cloud, no clippings in the lens.
Landing is where the pad earns its place in the bag. I bring the drone down over the pad and descend straight down, using the pad as the target. It is much easier to judge height over a defined surface than over a patch of grass that all looks the same. I cut the throttle gently and let the drone settle, then hold the left stick down until the motors stop. The pad also gives the downward sensors something flat to read, so the drone does not hover and hunt for a moment before it touches down.
In wind, I approach into the wind and let the drone hover over the pad for a second before descending. That pause lets it hold position instead of drifting while the sensors read the surface. And I keep my eyes on the drone, not the screen, for the last ten feet. The screen lies about height over grass, because there is no texture to judge against. The pad gives me a fixed point, and I trust that over the display.
Step 5: Pack up so the pad is ready for next time
When the battery is done, I pick the pad up by the edges and give it a shake to knock off grass and grit. Then I fold it along its creases and wipe it down if it picked up dew or dust. Wet grass is the worst, because the moisture gets into the fold and the pad goes into the case damp. I learned to let it air out on the tailgate for a minute before I pack it away.
I check the grommets and the edges for tears while I am folding. The YINGJEE pad has been through two seasons of farm fields and it still looks new, but a tear at a grommet is the kind of thing that starts small and then fails at the worst moment, usually in wind. Thirty seconds of looking beats a pad that flaps loose on the next outing. I also check the stakes before I put them away, because a bent stake is harder to set than a straight one.
The folded pad lives in my JSVER hard case with the drone, so it is always with me. That is the whole trick, and I mean it in the plainest sense. A landing pad only helps if it is in the bag when you get to the field, and mine has been in there since the day I bought it. The case takes the same space whether the pad is in it or not, so there is no reason to leave it behind.
What Else Helps
A few things make grass launches easier without being strictly necessary. A VIFLY strobe helps me keep visual contact with the drone in bright sun and at dusk, which matters when I am landing on a pad that is hard to see from a distance. A Hanatora tablet holder lets me fly with an iPad mini, and the bigger screen makes it easier to judge the approach. A set of NEEWER ND filters keeps the exposure sane on the bright days when I fly the most. If you fly from a field more than once a month, the strobe and the holder will earn their place in the case. None of these are required for a grass launch, but they all make the routine easier.
The other thing that helps is a spare set of props and a small lens cloth in the case. I have replaced exactly one set of props in two years, and that was my own fault, not the field's. But when a prop does get nicked, you want the spare in the bag, not at home on the workbench. The same goes for the cloth. Grit on the lens is the most common reason I have landed early, and a clean cloth fixes it in ten seconds.
If you fly from grass, a landing pad is not a luxury. It is the difference between a clean launch and a camera full of grit, between a landing you can judge and a guess over a field of green. Set the pad up the same way every time, and the boring routine is what keeps the drone in the air. It has kept mine flying for two seasons, and I do not see that changing. The pad is the most boring piece of gear I own, and it is the one I would replace first if it wore out.
Two seasons of launching from farm fields and park grass, and the only prop I have broken was my own fault, not the field's.
Start every flight from a clean, flat surface
The YINGJEE 22 inch landing pad folds small, stakes down flat, and gives the drone a steady surface to read on takeoff and landing. It is the first thing I reach for in the case.
Amazon Check Today's Price on Amazon →